

How Much To Repair Vizio Tv Screen
Introduction
My research created a serial of steps to follow for this project. These steps volition consist of how to accept the screen out. Each step will exist very easy to follow, but please be aware, that these steps will not ever 100% work. Please make sure to bring your work to a store and then that they tin check and see if it looks proficient, or if your product does not work, please bring information technology to a professional. Also, exist prepared to spend at least a skillful $100 - $200 on a new screen.
-
-
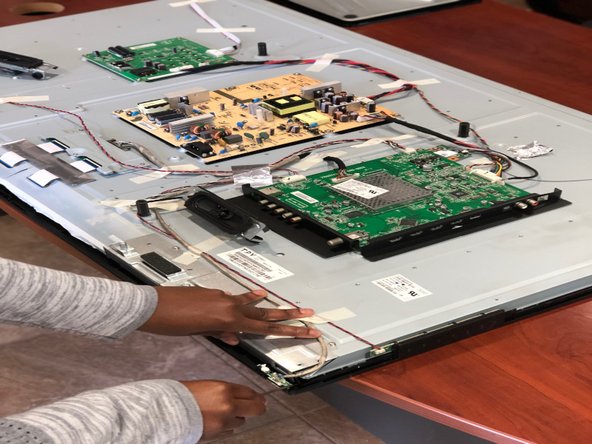
Carefully flip the TV over.
-
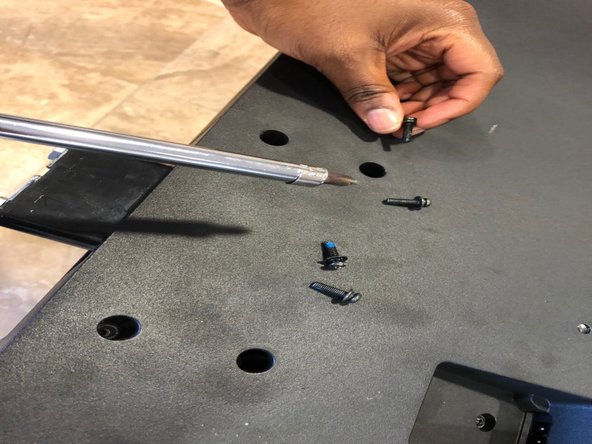
Start by unscrewing the bottom role of the Idiot box.
-
-
-
Unscrew the frame and slowly and carefully remove it. Ready information technology somewhere.
-
Side by side, unscrew the nub and slowly and advisedly remove it.
-
-
-
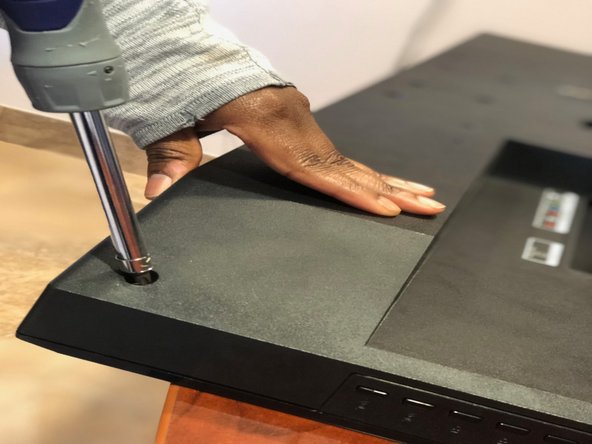
Carefully unscrew all of the screws in the back of the Goggle box.
-
-
-
Slowly and carefully lift the dorsum of the Telly off and put it aside.
-
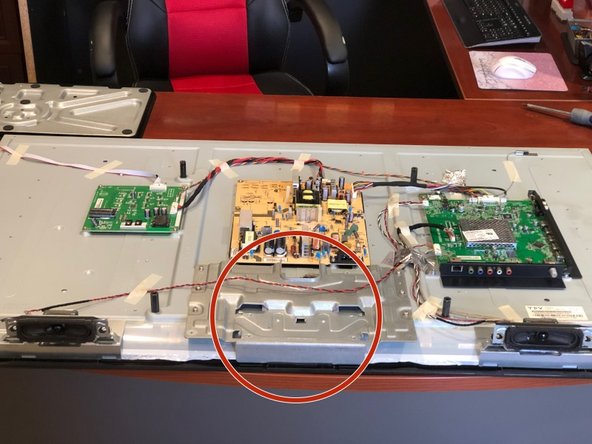
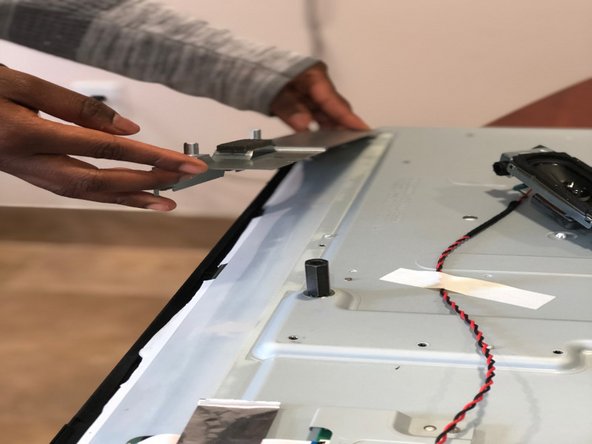
The gray metallic piece that is stationed underneath the yellowish device is the first thing that nosotros will start to usncrew.
-
-
-
Slowly lift up that gray panel and put information technology aside. Let'south move on to the speakers.
-
-
-
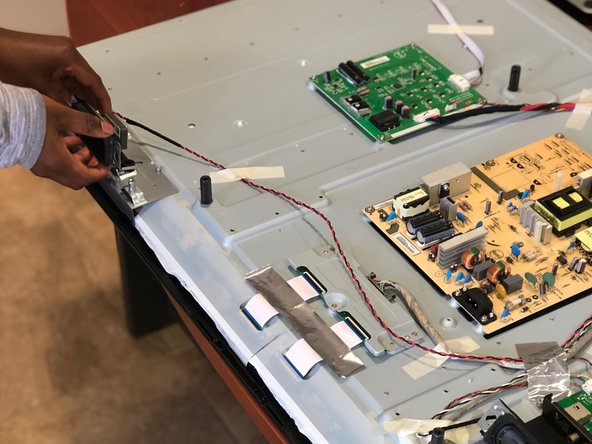
Remove the Speakers.
-
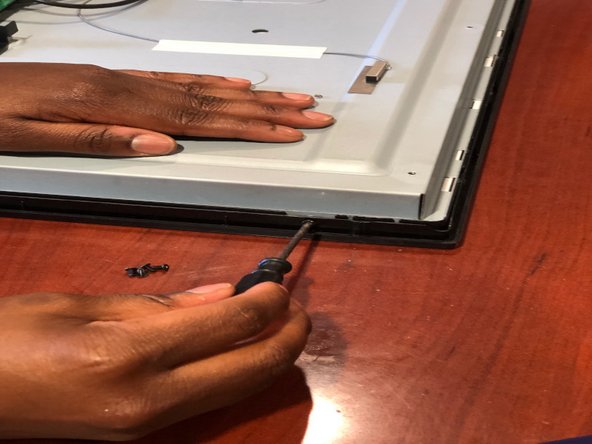
Next, there is this little chip looking thing at the corner of the Goggle box, accept the small screwdriver and put information technology underneath it and elevator it upward. Be sure to again be gentle, making sure you don't scratch or chip it.
-
-
-
Afterward you are washed lifting it up, pull it towards you and elevator it on height of the Television.
-
-
-
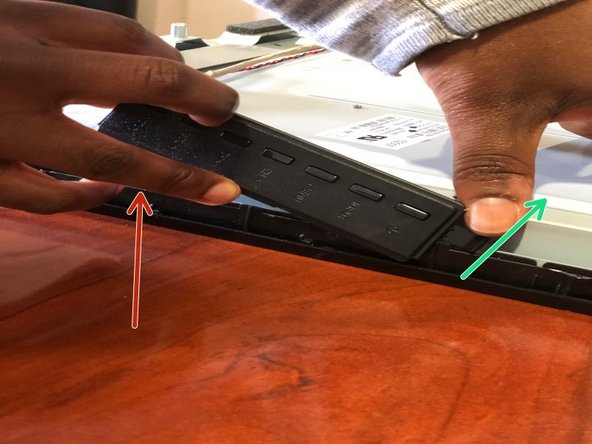
Adjacent, we get to the buttons. My pollex is situated on a console on acme of the push button, press on it.
-
With your other manus (keeping the pollex pressed on the console), slowly and carefully lift the push part up.
-
Now, we are moving on to taking out this other medal slice (please see the terminal picture in this pace).
-
-
-
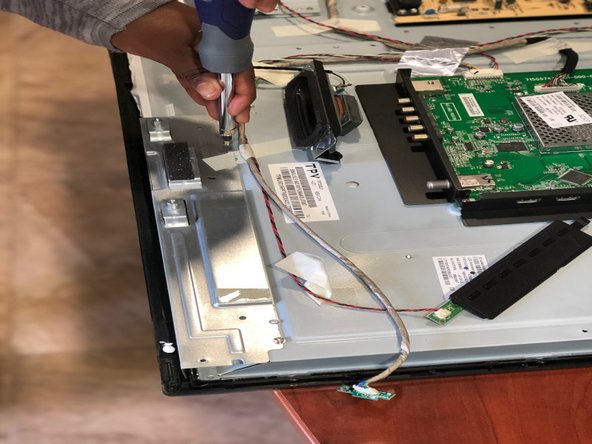
At that place are two metal pieces holding onto the bottom of the Tv. Really the bottom function of the Goggle box is what'southward keeping yous away from the drinking glass office.
-
Unscrew both metallic parts, slowly lifting them up and putting them aside, if you think labeling will aid, please practice then. These steps are easy enough to know and understand, and so labeling is not really needed.
-
-
-
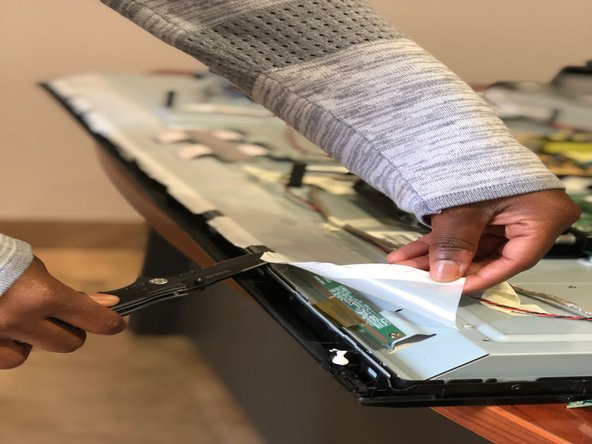
At that place is this lilliputian sticker plastic matter that is located at the bottom. We are going to now apply our pocket knife, the dorsum role of information technology because we do non want to cutting or rip that plastic section.
-
The tip of the pocketknife should be used to help peel information technology and so the back of information technology should help lift it up.
-
It'due south okay, this is super sticky, so it will re-stick when you lot put information technology back together. In one case done, go alee and tuck it up (come across last photo in this step) and move on to the next step.
-
-
-
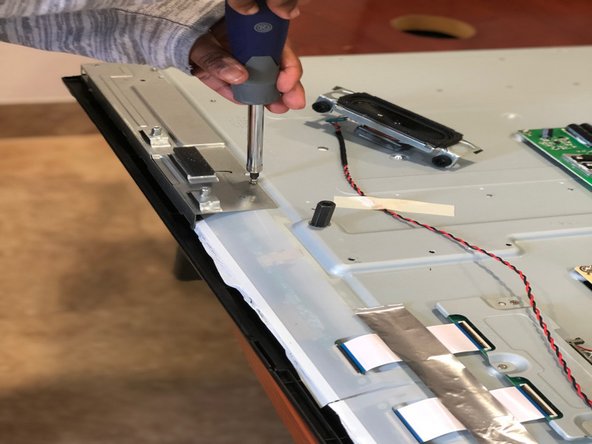
Here is where information technology gets a bit complicated. There is a lot of tiny niggling screws around the edge of the Boob tube. Unscrew them going around and putting them aside.
-
Make certain to get every little screw, because when nosotros flip the Television (super heavy!) we are going to remove the frame and if one screw is in there, it will exist super difficult to remove.
-
Once you become all of the screws, go dorsum and make sure you didn't leave i so we tin can practice one quick flip and done. :)
-
-
-
Now, again at the lesser, unclip the frame from the metallic function. Make sure to practice information technology advisedly so that the plastic doesn't break.
-
Once done, flip the Idiot box. Information technology should look like the next ii pictures.
-
-
-
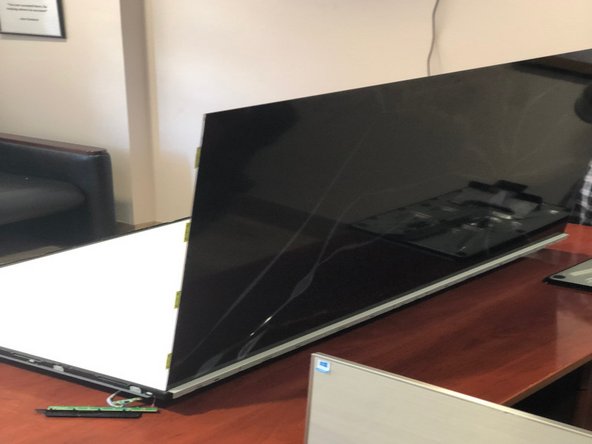
Next, we elevator up the frame from in front of the Goggle box (those tiny side screws did the work) and prepare it bated.
-
In one case done, elevator upwardly the glass section (carefully, it is drinking glass) and replace it with a make new glass screen!
-
This is the end of this guide book!
-


Conclusion
To reassemble your device, follow these instructions in contrary guild.
Embed this guide
Cull a size and copy the lawmaking below to embed this guide as a small widget on your site / forum.
Preview

Source: https://www.ifixit.com/Guide/VIZIO+TV+Screen+Replacement/120241
Posted by: lopezsibes1970.blogspot.com
0 Response to "How Much To Repair Vizio Tv Screen"
Post a Comment